Feather Client mod support is one of the main reasons players switch from the vanilla launcher. Alongside its built-in modules, the client lets you add your own Fabric or Forge mods to a profile. Doing it well comes down to matching versions, keeping loaders separate and adding mods in a sensible order.
Built-In Modules vs External Mods
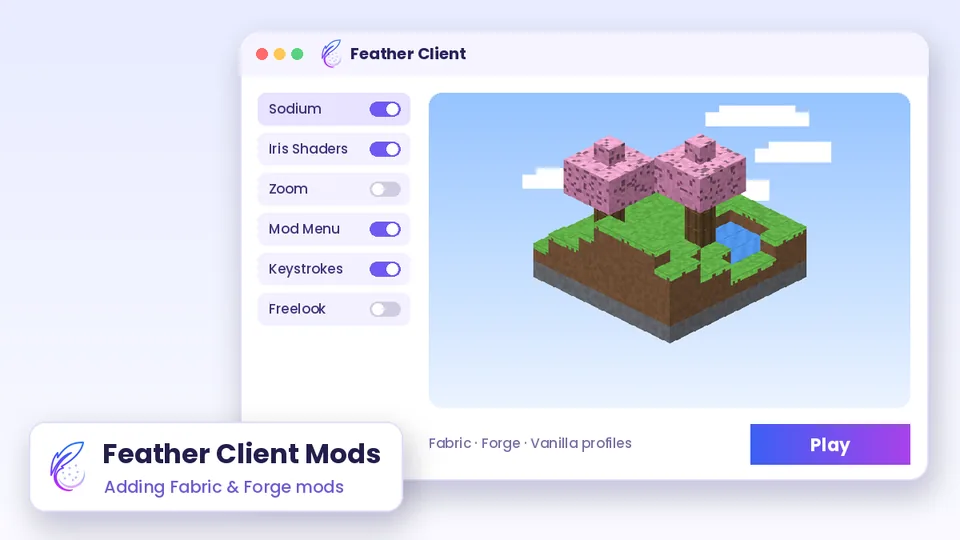
The client ships with its own modules, such as zoom, freelook, keystrokes and an FPS counter. You switch these on and off from the in-game mod menu, and they need no extra files. They are designed to work together and update with the launcher.
External mods are JAR files written by other developers. You add them to a specific profile, and they only load when that profile's loader and Minecraft version match what the mod was built for. Mixing the two types is fine, as long as they do not duplicate the same job.
| Type | Where it comes from | How you manage it |
|---|---|---|
| Built-in module | Included with the client | Toggle in the in-game mod menu |
| Fabric mod | Mod sites such as Modrinth or CurseForge | Add to a Fabric profile |
| Forge mod | Mod sites such as CurseForge | Add to a Forge profile |
Choosing Between Fabric and Forge
Fabric is lightweight and popular for performance and visual mods like Sodium and Iris. Forge hosts many large content mods that add new items, machines or dimensions. A single profile can run only one loader, so decide which one your favourite mods need before you start.
If you are unsure, check the download page of the mod you care about most. It lists the supported loader and Minecraft versions, and the rest of the profile should follow that choice.
Matching the Minecraft Version
Every mod is compiled for a specific Minecraft version. A mod built for one release rarely works on another, even when the numbers look close. Set the profile's version first, then download only the mod files that list that exact version.
- Check the version shown on the profile before downloading anything.
- Filter mod-site results by both loader and game version.
- Prefer release files over alpha or beta builds for everyday play.
- Note required dependencies listed on the mod page.
Adding a Mod Step by Step
Open the launcher and select or create the profile you want to change. Set its loader to Fabric or Forge and choose the Minecraft version. Many launcher builds include a mod browser or an option to open the profile's mods folder, which is where external JAR files belong.
Download the mod file from its official project page and place it in that folder, or install it through the launcher's mod section if available. Close the folder, return to the launcher and press Play. The first launch after adding mods may take a little longer.
Installing Required Libraries
Many Fabric mods need Fabric API, and some mods depend on helper libraries such as Cloth Config. The mod page lists these under dependencies. Missing libraries are the most common reason a newly added mod stops the game from starting.
Recommended Starter Mods
A small, well-chosen list beats a huge pack you cannot debug. These widely used Fabric mods cover performance and visuals, and each has its own project page with version details.
| Mod | Purpose | Note |
|---|---|---|
| Sodium | Rendering performance | Check whether your profile already includes a similar optimiser |
| Iris Shaders | Shader pack support | Pairs with Sodium on Fabric |
| Mod Menu | Lists installed mods in game | Useful for opening mod settings |
| Fabric API | Core library | Required by most Fabric mods |
Testing Mods Safely
Add mods one or two at a time and launch after each change. If the game crashes, you immediately know which file caused it. This takes a little longer at first but saves hours compared with removing mods blindly from a long list.
Keep a separate profile for experiments. Your everyday profile stays stable while you test new mods elsewhere, and you can copy the working files across once you trust them.
Back Up Your Worlds
Content mods can change world data. Copy your saves folder before adding mods that introduce new blocks, items or dimensions, because removing such a mod later can leave missing blocks or corrupt chunks.
When a Mod Will Not Load
A mod that does not appear in game usually has a version or loader mismatch. A mod that crashes the game often conflicts with another mod or with one of the client's built-in modules doing the same job.
- Confirm the mod file matches the profile's loader and Minecraft version.
- Install any dependency listed on the mod page.
- Remove duplicate mods that change the same feature.
- Disable the matching built-in module if a mod replaces it.
- Read the newest crash report; it usually names the failing mod.
Respecting Server Rules
Servers decide which mods and modules are allowed. Visual and performance mods are usually accepted, while anything that gives an unfair advantage can lead to a ban. Read each server's rules page before joining with a modded profile.
When in doubt, create a clean profile with only performance mods for public servers, and keep heavier content packs for single-player or private worlds.
Keeping Mods Updated
Mods update separately from the launcher, so check their project pages from time to time. When Minecraft gets a new release, wait until every important mod supports it before moving your main profile across, rather than upgrading on day one.
Organising Profiles for Different Mod Sets
Separate profiles keep each mod set tidy. A lean PvP profile, a shader profile for screenshots and a content-heavy survival profile can sit side by side, each with its own loader and version. Switching between them takes seconds and avoids constant adding and removing of files.
Give every profile a clear name that mentions its purpose and Minecraft version. When something breaks months later, those names make it obvious which setup you are looking at.
Conclusion
Feather Client mod setup works smoothly when you keep one loader per profile, match every file to the exact Minecraft version and install required libraries. Add mods gradually, test after each change and back up worlds before trying content mods. With that routine, the client's built-in modules and your favourite external mods can share one stable, enjoyable setup.